
Installation
Installation Guide
Get Ciaren running on your machine in a few minutes. Ciaren has two parts:
- a backend (FastAPI + the execution engine and scheduler), and
- a frontend (the React visual editor).
You can run the backend on its own and drive it through the REST API, or run both for the full visual experience.
Requirements
- Python 3.12+ — Download Python
- Node.js 18+ — Download Node.js (only for the frontend)
- Git — Download Git
- A database is optional: SQLite is the zero-setup default. PostgreSQL / MySQL are supported via an async driver.
Recommended: PyPI Package
Use the PyPI package when you want the simplest local install.
python -m pip install --upgrade pip
python -m pip install ciaren
ciaren serve
Open http://localhost:8055.
The published wheel bundles the web UI, so ciaren serve can serve the visual
editor, API, and background scheduler from one process. The first start creates
the SQLite database automatically and seeds a Demo project with sample
datasets and example flows.
Pin the version if you need reproducibility
For repeatable tutorials, CI jobs, or controlled internal evaluation, pin the exact version:
python -m pip install "ciaren==0.1.0"
Optional extras from PyPI
The base install includes the core app, scikit-learn models, MLflow tracking, pandas, and polars. Install extras only when you need specific drivers or optional model families:
python -m pip install "ciaren[postgres]"
python -m pip install "ciaren[s3]"
python -m pip install "ciaren[ml]"        # adds XGBoost and LightGBM choices
python -m pip install "ciaren[keyring]"   # recommended on desktop: OS-keychain connection secrets
For a full list, see Connections and Machine Learning Quick Start.
Alternative: Docker
Use Docker when you want to try Ciaren quickly or evaluate the full app without setting up Python and Node.js separately. It builds the backend, builds the visual editor, serves everything at one URL, and keeps app data in a Docker volume.
git clone https://github.com/ciaren-labs/Ciaren.git
cd Ciaren
docker compose up --build
Open http://localhost:8055.
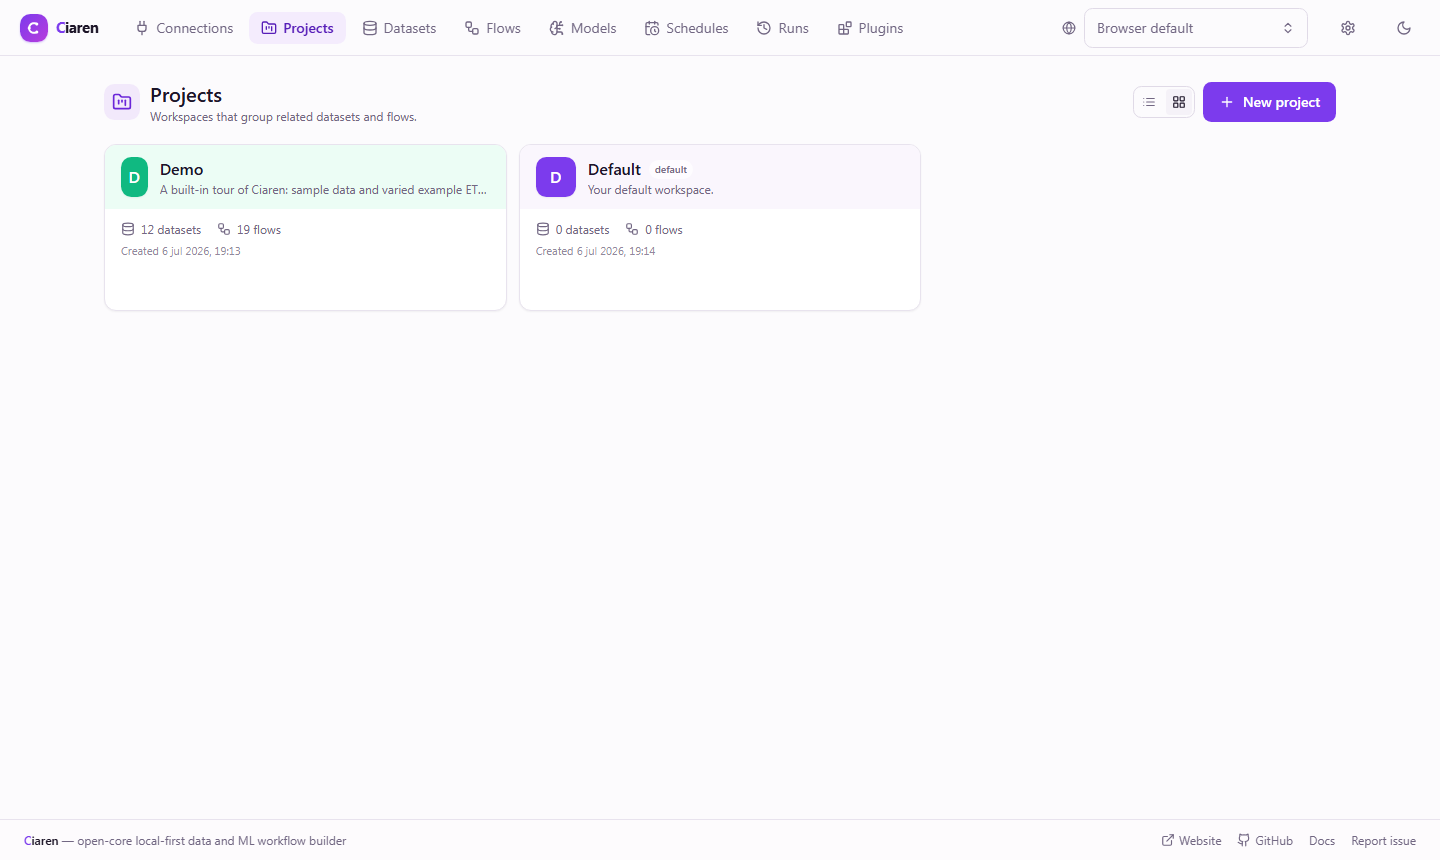
On first start, Ciaren creates its SQLite database automatically and seeds a Demo project with sample datasets and example flows. Open Projects → Demo to preview, run, and export working flows before uploading your own files.
Optional Docker extras
The base Docker build keeps dependencies lean. To include optional connector or
ML packages, pass EXTRAS at build time:
EXTRAS=ml docker compose up --build
EXTRAS=all-connectors docker compose up --build
The available extras are documented in docker-compose.yml and the backend
package metadata.
Run From Source
Use this path when you want to contribute, debug locally, or run the backend and frontend in development mode.
1. Clone the repository
git clone https://github.com/ciaren-labs/Ciaren.git
cd Ciaren
2. Start the backend
cd backend

# Create and activate a virtual environment
python -m venv .venv
source .venv/bin/activate    # macOS/Linux
# .venv\Scripts\activate     # Windows (PowerShell)

# Install Ciaren from the local checkout (exposes the `ciaren` command)
pip install -e .

# Run the API + background scheduler in one process
ciaren serve
The backend runs on http://localhost:8055. The database schema is created
automatically on first start — there is no migration step. Open the interactive
API docs at http://localhost:8055/docs. The default startup also seeds the
Demo project; use ciaren serve --no-demo if you want an empty workspace.
Database connectors are optional
The core install stays lightweight. To use external databases from SQL Input /
SQL Output nodes, install the matching connector extra — e.g.
pip install "ciaren[mysql]", or grab the connector set with
pip install "ciaren[all]". From a source checkout, use the editable form:
pip install -e ".[mysql]". These connector extras are separate from the async
driver used by CIAREN_DATABASE_URL; if you want Ciaren's own metadata
database on MySQL, install aiomysql and use a mysql+aiomysql:// URL. See
Connections for the connector list.
ciaren serve vs. uvicorn
ciaren serve is the recommended entry point — it boots the API and the
background scheduler together. It accepts flags like --port, --reload,
--db-url, --engine, and --no-scheduler. See the
CLI reference for all of them. (Under the hood it runs the same
app.main:app ASGI app, so uvicorn app.main:app --reload still works if you
prefer.)
3. Start the frontend
In a second terminal:
cd frontend

npm install
npm run dev
The editor runs on http://localhost:5173 and proxies /api calls to the
backend on port 8055.
4. Open in your browser
Visit http://localhost:5173. During development, this is the URL for the
React editor. The backend URL (http://localhost:8055) serves the API and
interactive API docs unless you build the frontend and let ciaren serve serve
the compiled UI.
One-command app (no separate frontend server)
Build the frontend once and ciaren serve will serve the web UI too, so the
whole app lives at a single URL:
cd frontend && npm run build      # produces frontend/dist
cd ../backend && ciaren serve  # banner: "Open the app: http://localhost:8055"
ciaren serve auto-detects frontend/dist; override its location with
CIAREN_FRONTEND_DIST. Its startup banner always tells you the exact URL to open.
Machine Learning is built in
The ML nodes (Train / Predict / Evaluate …) are part of the base install — no
extra needed. ciaren init enables the feature and provisions a local MLflow
store by default (CIAREN_ML_ENABLED=true in .env).
Only the XGBoost/LightGBM model types need an extra, since they pull in native-compiled gradient-boosting libraries:
pip install "ciaren[ml]" # adds XGBoost + LightGBM model choices
If the Machine Learning palette section is missing entirely, check
ciaren check (it reports ml: ok) and that the frontend you're viewing is up
to date. See the ML Quick Start.
Detailed Setup
Backend with uv (faster)
uv is a fast Python package manager:
cd backend
uv sync                       # install dependencies
uv run ciaren serve        # run the server
For development dependencies (tests, linting, type-checking):
uv sync --all-groups
# or with pip:
pip install -e .[dev]
Frontend scripts
cd frontend

npm run dev       # start the dev server (default port 5173)
npm run build     # type-check and build for production
npm run preview   # preview the production build
npm run test      # run the Vitest unit tests
To run the dev server on a different port, set VITE_PORT; to point it at a
backend on another host/port, set VITE_API_TARGET:
VITE_PORT=3000 VITE_API_TARGET=http://localhost:8001 npm run dev
Configuration
The backend reads environment variables (prefixed with CIAREN_) and an
optional .env file. The fastest way to create one is:
cd backend
ciaren init        # writes a commented starter .env
What ciaren init actually writes (abbreviated — see the
CLI reference for every variable and its
default):
# Database — Ciaren is async, so the URL must use an async driver.
# CIAREN_DATABASE_URL=sqlite+aiosqlite:///./ciaren.db
# PostgreSQL: postgresql+asyncpg://user:password@localhost/ciaren
# MySQL:      mysql+aiomysql://user:password@localhost/ciaren

# Where uploads and run outputs are stored
# CIAREN_DATA_DIR=.data

# Dataframe engine for runs that don't request one: polars | pandas
# CIAREN_DEFAULT_ENGINE=polars

# How flow compute is offloaded off the event loop: thread | process
# CIAREN_EXECUTION_MODE=thread

# Log output format: auto | text | json
# CIAREN_LOG_FORMAT=auto

# Background scheduler:
# CIAREN_SCHEDULER_ENABLED=true

# --- Security ---
# CIAREN_API_TOKEN=
# CIAREN_WEBHOOK_SECRET=
# CIAREN_CONNECTOR_BLOCK_PRIVATE_HOSTS=false
# CIAREN_STORAGE_ALLOWED_ROOTS=["/srv/ciaren/data"]
# CIAREN_PYTHON_TRANSFORM_STRICT=false

# --- Machine learning (built in) ---
CIAREN_ML_ENABLED=true
CIAREN_MLFLOW_TRACKING_URI=./mlruns
Run ciaren info to print the resolved configuration (the database password
is redacted), and ciaren check to validate it (writable data dir, async
driver, database reachable, engines available). For the full settings reference,
alternate databases, execution tuning, and production deployment, see
Advanced Setup (and the CLI reference).
Async driver required
The app runs on async SQLAlchemy. A plain sqlite://, postgresql://, or
mysql:// URL will fail — always use the async variant (sqlite+aiosqlite://,
postgresql+asyncpg://, mysql+aiomysql://).
Don't commit `.env`
Keep secrets out of version control — .env is already in .gitignore.
When no .env is present, the backend defaults to
sqlite+aiosqlite:///./ciaren.db, so it runs with zero configuration.
Database Setup
SQLite (default)
SQLite requires no setup — it uses a local file (ciaren.db), and the schema
is created automatically the first time the backend starts. Tests run against
in-memory SQLite regardless of DATABASE_URL.
PostgreSQL
Install the async driver and point Ciaren at your database:
pip install asyncpg
# in backend/.env
CIAREN_DATABASE_URL=postgresql+asyncpg://ciaren:password@localhost/ciaren_dev
The backend creates its tables on startup, so there is no manual migration step.
MySQL works the same way with pip install aiomysql and a
mysql+aiomysql:// URL.
Verify the Install
Backend health
curl http://localhost:8055/health
Expected response: {"status":"ok"}
You can also run ciaren check for a fuller diagnostic.
Explore the API
Open http://localhost:8055/docs for the interactive Swagger UI, where you can
list datasets, create flows, run them, and export Python code.
Troubleshooting
"Port 8055 already in use"
ciaren serve --port 8001
"Port 5173 already in use"
VITE_PORT=3000 npm run dev
"Database connection failed"
CIAREN_DATABASE_URLmust use an async driver (sqlite+aiosqlite://,postgresql+asyncpg://,mysql+aiomysql://).- The database server is running (for PostgreSQL / MySQL).
- The matching async driver package is installed (
asyncpg,aiomysql).
ciaren check reports all three at once.
Module not found errors
Reinstall the backend from a clean virtual environment:
cd backend
rm -rf .venv
python -m venv .venv
source .venv/bin/activate    # or .venv\Scripts\activate on Windows
pip install -e .
For the frontend, remove node_modules and reinstall:
cd frontend
rm -rf node_modules
npm install
CORS errors
Add the calling origin to CIAREN_CORS_ORIGINS (a JSON list) in backend/.env:
CIAREN_CORS_ORIGINS=["http://localhost:5173"]
Next Steps
- Quick Start Tutorial — build your first flow
- Interface Tour — learn the UI
- Transformation Reference — all available operations
Need Help?
- Troubleshooting Guide
- GitHub Issues — report bugs
- GitHub Discussions — ask questions
Once it's running, head to Quick Start to build your first data workflow! 🚀